
Welcome to the world of outdoor living! We are excited that you have chosen the Arbor Garden Solutions wooden DIY decking kit to help you create your outdoor dream space. In this guide, we will provide comprehensive and detailed assembly instructions for installing your decking kit, including how to concrete the frame posts into the ground and accurately measure the area for your decking.
Measuring the Area
The first step in any decking project is to accurately measure the area where you plan to install the kit. This will help you determine the kit size you will need:
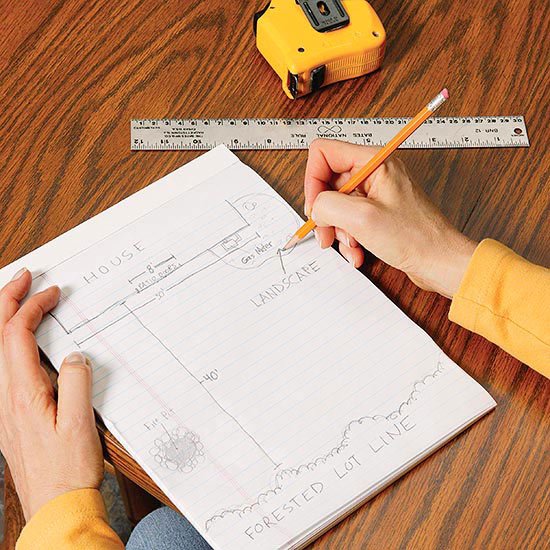
- Sketch out the area: Before you start measuring, it's a good idea to sketch out where you want to install the decking. This will help you visualize the space and ensure you don't miss any important details.
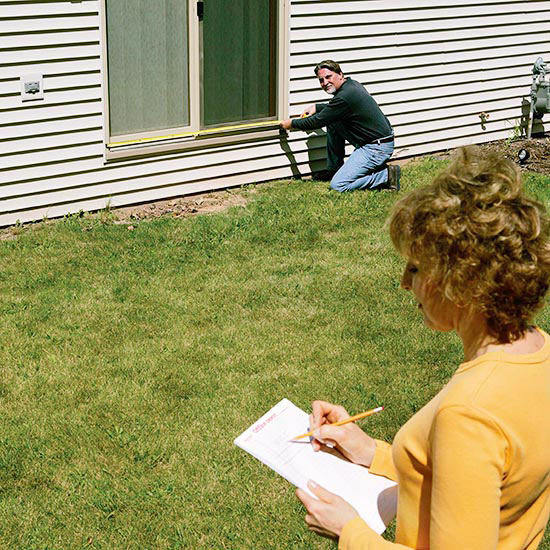
- Measure the width and length: Use a measuring tape to measure the width and length of the area in meters or feet. Be sure to measure the widest and longest parts of the space and any areas that may be irregular in shape.
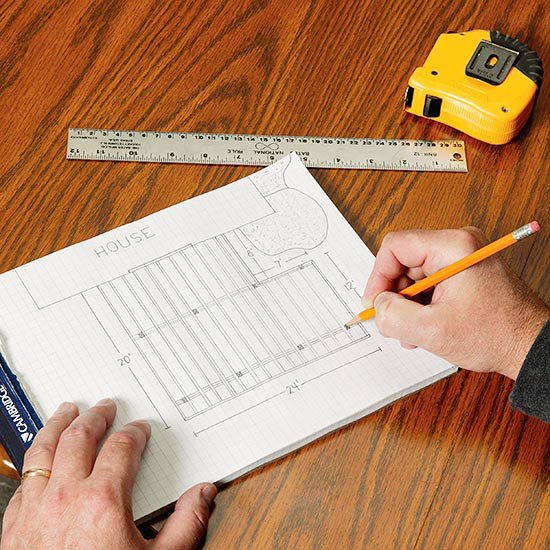
- Determine the square footage: Once you have your measurements, multiply the width and length to determine the square footage of the area. For example, if your area is 3 meters wide and 4 meters long, the square footage would be 12 square meters.
- Consider any obstacles: Take note of any obstacles in the area, such as trees, rocks, or other landscaping features. These will affect the layout of your decking and may require additional materials.
- Account for curves and angles: If your decking will have curves or angles, be sure to measure these areas accurately. One way to do this is to use a flexible measuring tape or string to mark out the shape of the curve or angle.
- Add extra for waste: It's always a good idea to add a little extra to your measurements to account for waste. This will ensure you have enough materials to complete the project and will save you from having to make multiple trips to the store.
Preparing the Ground
The decking kit requires a strong foundation. There are several ways to secure a decking kit frame, but here are four of the most common and effective methods:
-
First things first, mark the location of the uprights using a string line and stakes to ensure proper alignment. Once you've got that done, it's time to dig the holes. Use a post hole digger to make sure the holes are deep enough. Remember, they should be dug to a depth that is at least 1/3 of the upright length to ensure a stable foundation.
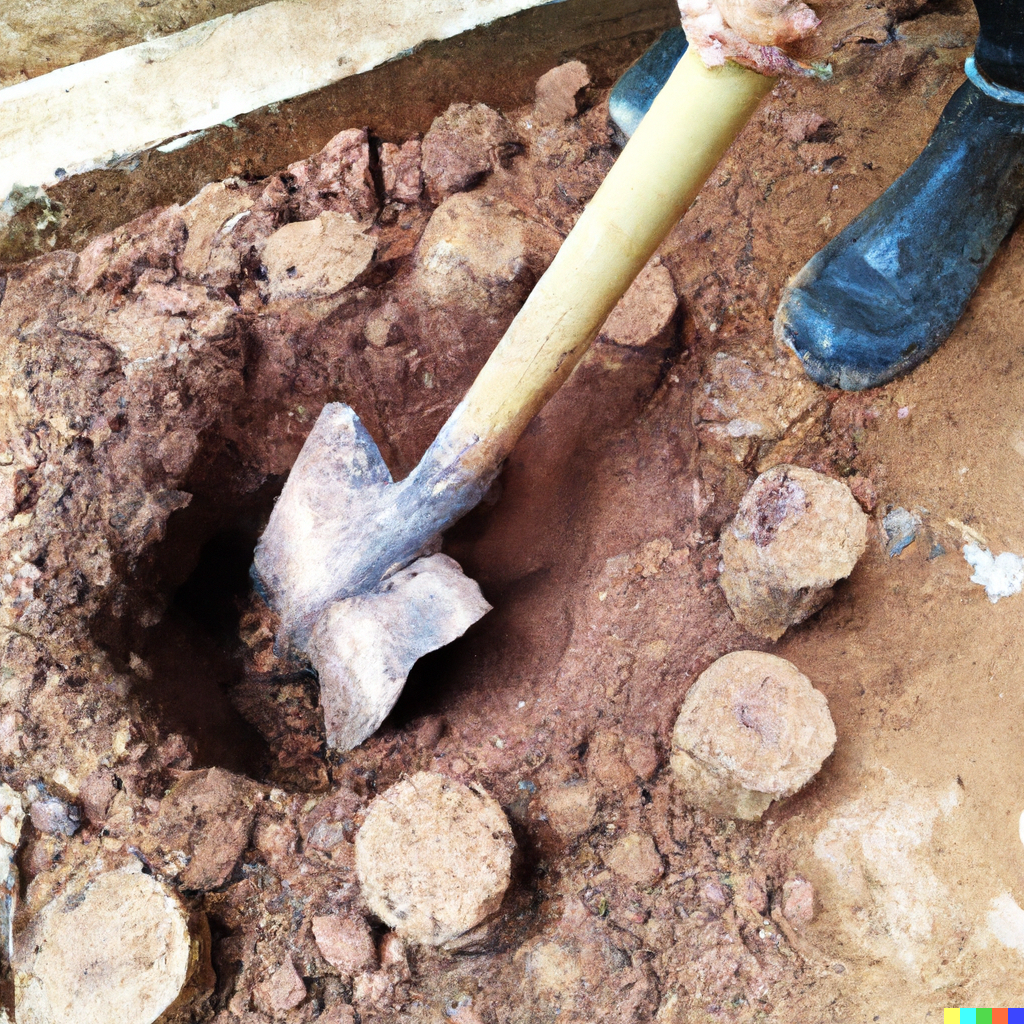
Next up, mix the concrete according to the manufacturer's instructions. You can use a wheelbarrow and shovel to get this done. Carefully pour the concrete into each hole, making sure it's filled to the brim. A trowel can be used to level the concrete at the top of the hole.

Now that the concrete is in place, insert the uprights into the post anchors. Make sure they're level and plumb. To support the uprights and prevent them from leaning, attach timber braces diagonally from the uprights to the ground using screws.
- Ground screws: Another option for securing a decking kit frame is by using ground screws. These are large, screw-like devices that are screwed directly into the ground, providing a secure foundation for the frame. Ground screws are easy to install and can be used on a variety of soil types, including rocky or sandy soils.
- Adjustable pedestals: Adjustable pedestals are another effective way to secure a decking kit frame, particularly on uneven surfaces or rooftops. These devices consist of a base plate that sits on the ground and an adjustable pedestal that can be raised or lowered to level the frame. Adjustable pedestals are easy to install and can be adjusted to accommodate changes in the ground or weather conditions.
- Wooden posts: Installing a decking kit on uneven ground can be tricky, but with a little bit of know-how, you can get it done. If you have an uneven surface, you will need to use wooden posts to provide a stable foundation for your decking kit frame. The good news is that all Arbor Garden Solutions decking kits come with 9 wooden uprights to help you do just that.
To start, you'll need to determine the high and low points of the ground. This can be done by using a spirit level and string line. Simply stretch the string line across the area where you'll be installing the decking and use the spirit level to determine the high and low points. This will help you to identify where the posts will need to be taller or shorter to create a level base for your decking.
Once you've determined the height for each upright, use a saw to cut the wooden posts to the correct height for each section of the decking frame. It's important to measure each upright individually to ensure that they are all cut to the correct length. This will help ensure that your decking frame is level and stable.


No matter which method you choose, it's important to ensure that the frame is level and secure before proceeding with the decking installation. A stable and secure frame will ensure that your decking is safe and long-lasting.
Assembling the Kit
Now that your frame posts are securely in place, it's time to assemble the decking kit. Here's how to do it:
Congratulations! You have successfully installed your Arbor Garden Solutions wooden decking DIY kit. We hope you enjoy your new outdoor space for years to come. If you have any questions or concerns, please don't hesitate to contact us for further assistance.
Remember, accurate measurements and a sturdy foundation are essential for a successful decking project. By following these instructions, you can ensure that your installation will last many years. For more information on our range of decking products, visit our website today.